What to Expect: From Inspection to Job Closed
24 steps in four phases. Here is exactly what happens, who does it, and what we need from you along the way.
Phase 1
Before you sign
From your first call to a signed contract. Nothing is decided until you say so.
Step 1: Inspection
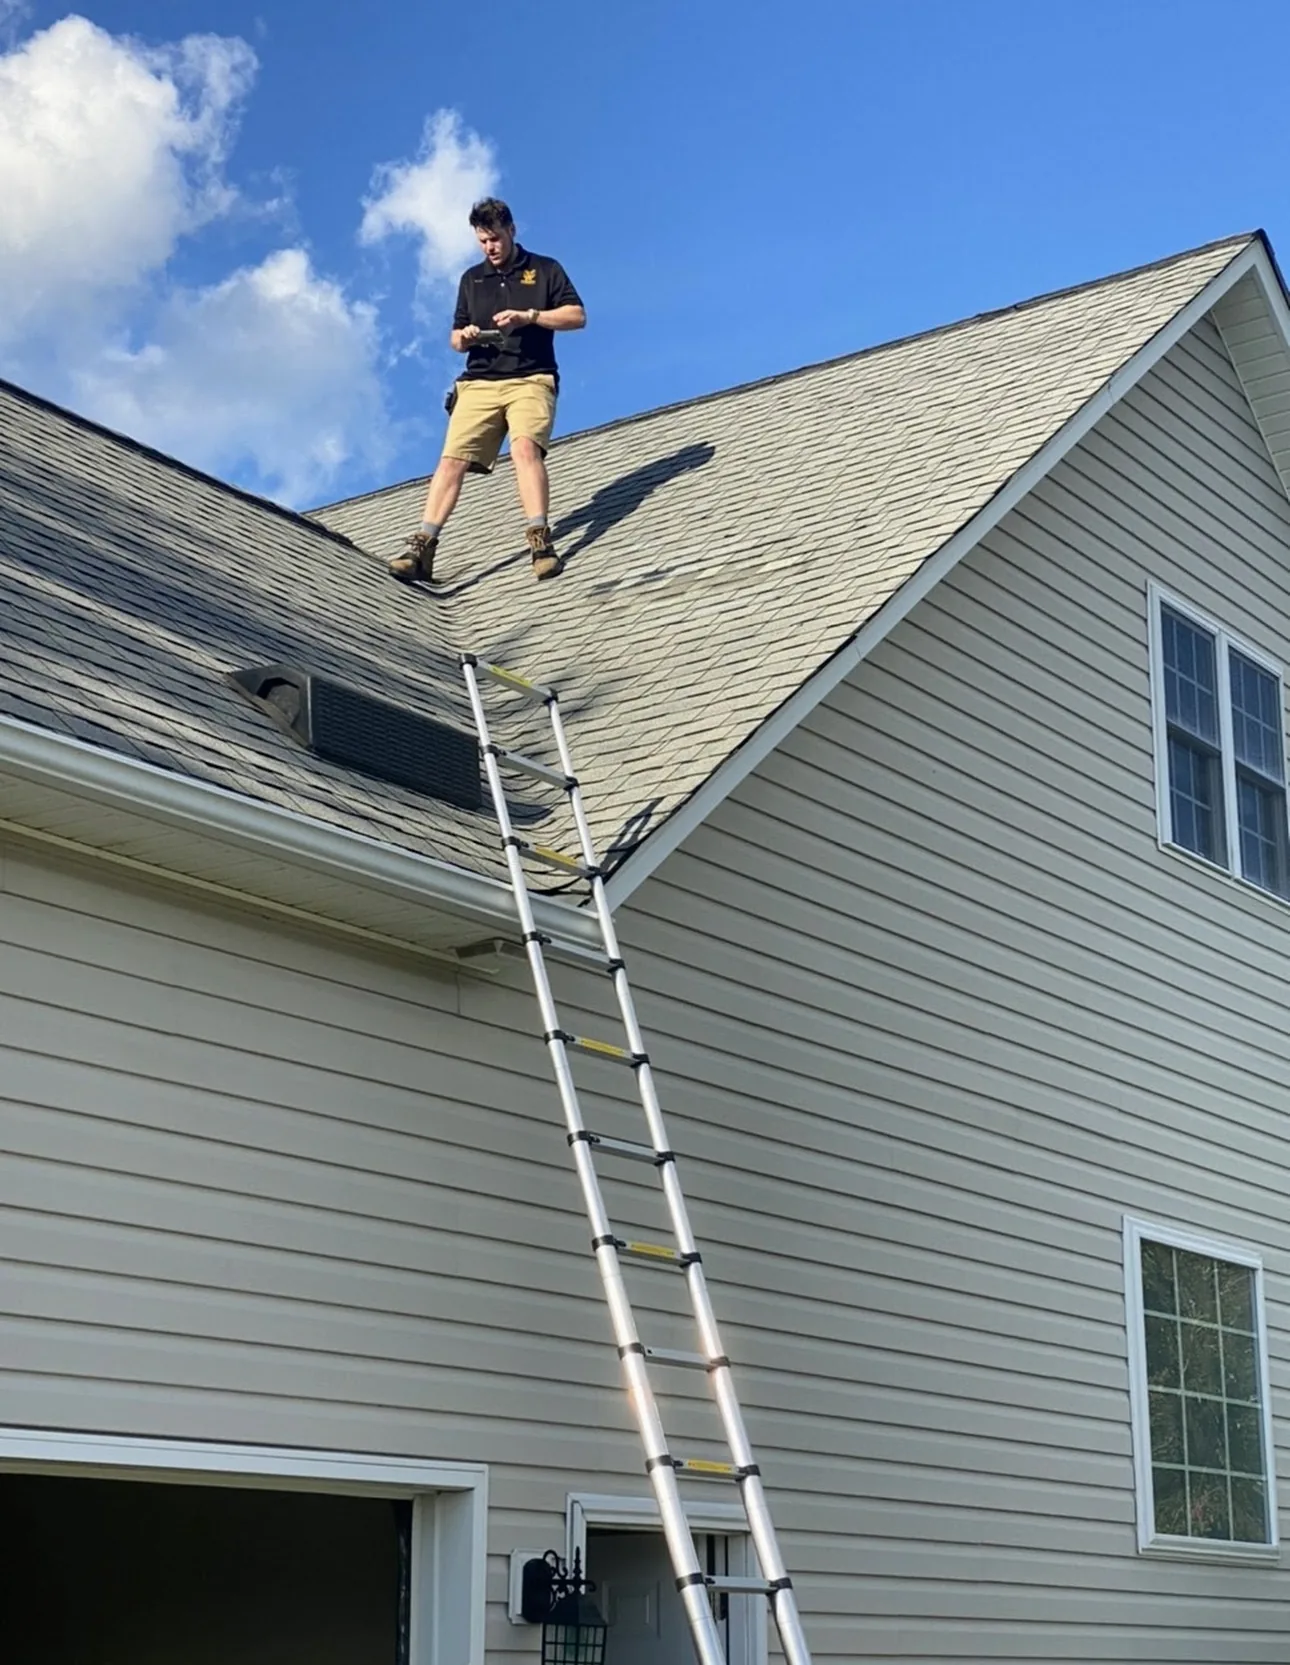
A member of our team goes up on your roof and checks it over, taking photos and measurements so what we find is documented.
Good to know: Our storm inspections are free.
Your part: Tell us about any leaks, stains or storm dates you know of. It helps us look in the right places.
Step 2: Consultation
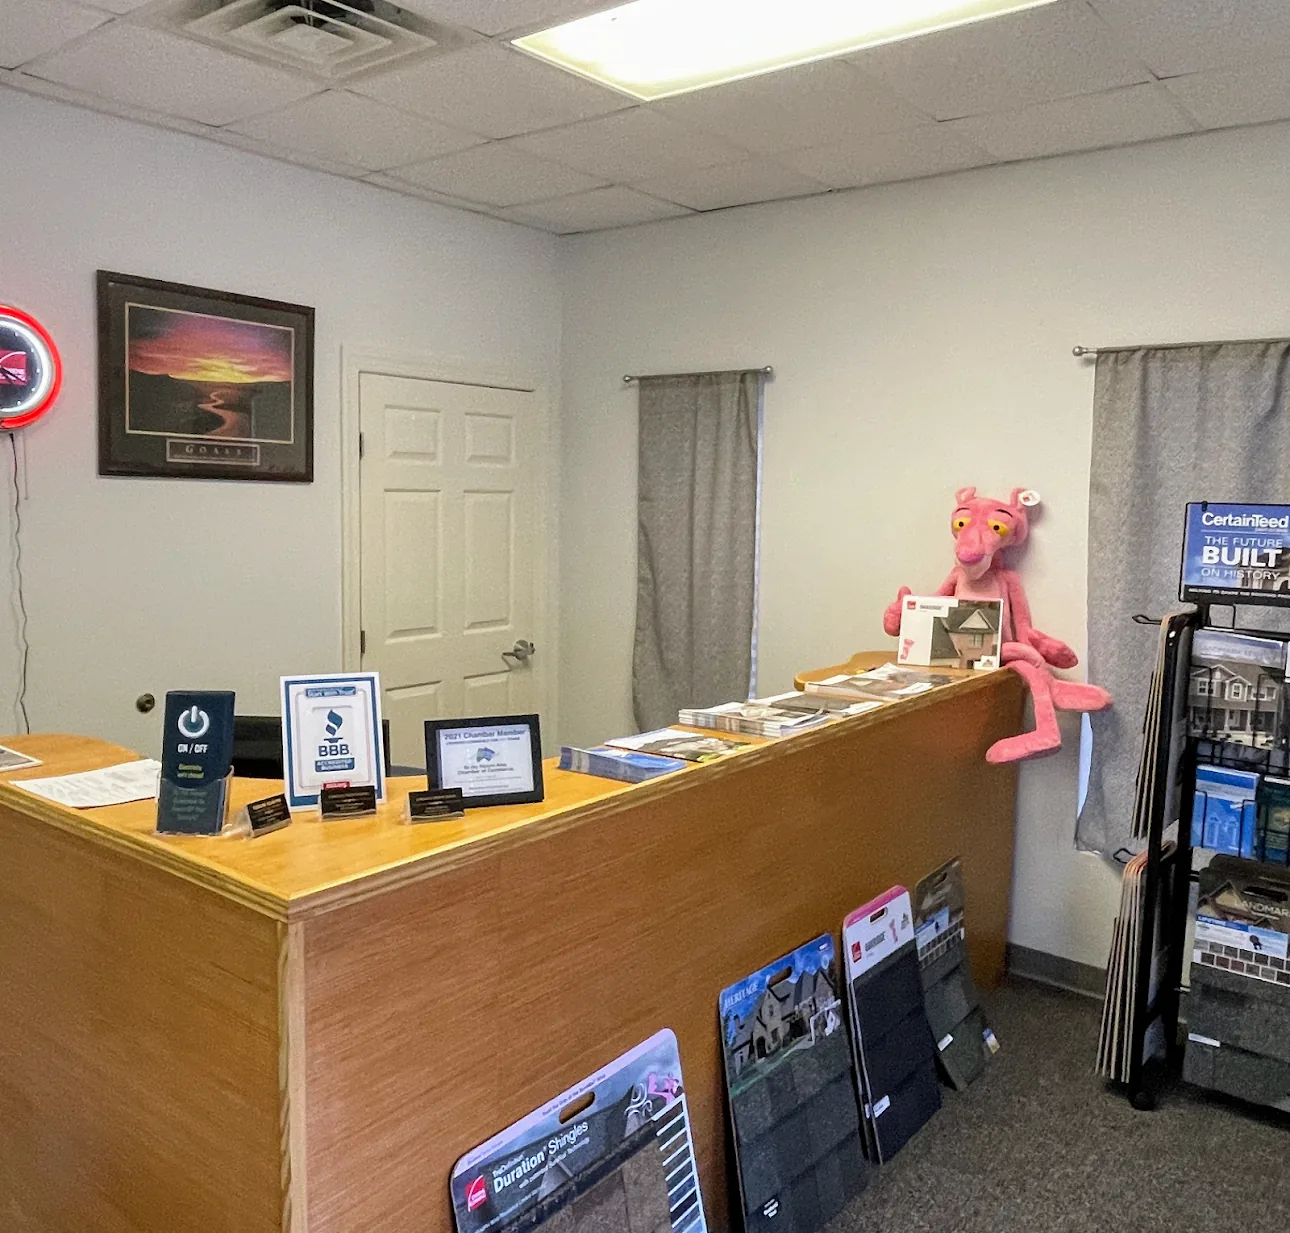
We go over what we found, explain your options and answer your questions.
Your part: Bring your questions. Nothing is too small to ask.
Step 3: Emergency tarps and water mitigation
If needed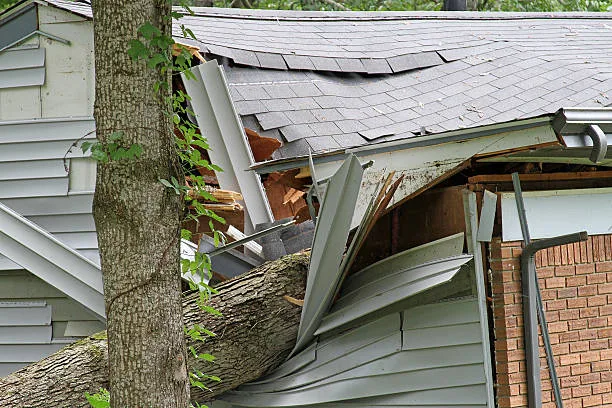
If your roof is open to the weather, we come out and tarp it. If water has gotten inside, our water mitigation service can help.
Good to know: If you have an emergency such as an active leak, we will come and tarp it at no charge to you. Call right away: (252) 302-2003.
Step 4: You file your claim
Insurance jobsYou report the damage to your insurance company. Have your policy number, the date of the storm, a description of the damage and your contact information ready.
Good to know: We act as your Contractor of Record and supply the documentation. The claim itself stays between you and your carrier.
Step 5: Adjuster meeting
Insurance jobs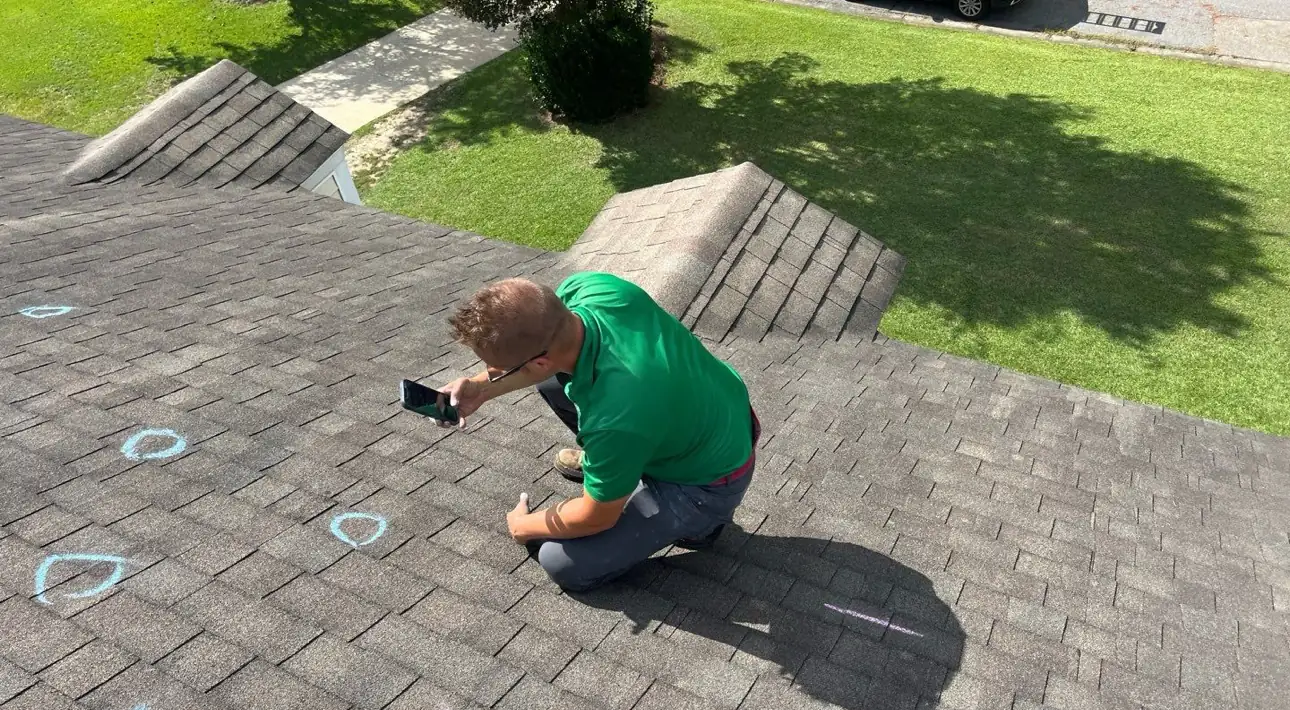
Your insurance company sends an adjuster to look at the damage. We are there with our photos and documentation to point out areas of concern and answer the adjuster’s questions.
Your part: Let us know as soon as an adjuster is scheduled so we can be there.
Step 6: Scope and settlement review
Insurance jobsWhen your carrier sends its scope of work and settlement, we go over it with you so you understand what it includes and what the job requires.
Good to know: Your policy and your carrier decide what is paid. Our job is to help you understand the scope.
Step 7: Roof package overview
We walk you through your shingle package. Standard is included free with every roof. Gold, Platinum, Diamond and Fortified are upgrades, with differences in shingle, impact rating, labor warranty and decking.
Step 8: Contract
You sign your contract with one of our representatives. You also receive our What to Expect Now letter, which explains what happens from here.
Good to know: Your sales representative cannot make production promises outside the contract. Make sure everything you are promised is in clear writing.
Your part: Make sure your representative has a good email address for you. We send a lot of updates by email, and missing them can slow your job down.
Phase 2
After you sign: getting ready
Your contract goes to the office and your job gets planned, ordered and scheduled.
Step 9: Deposit collection
Your deposit is collected and your job joins the schedule.
Good to know: We run jobs in the order they come in, and we typically install within 4 to 6 weeks of collecting the deposit. Severe weather, material shortages and labor availability can push a date back.
Step 10: Contract review
Your contract comes to the office, where it is scanned, uploaded into our system, checked over and processed.
Step 11: Job planning
Our Production Team plans your job. On insurance jobs, our Supplement Specialist also checks whether the carrier left out any items or priced any lines below the industry average.
Step 12: Material ordering
Our office team orders the materials for your roof and tracks them until they arrive.
Step 13: Equipment scheduling
The tools and equipment your job needs are scheduled so they are in place when the crew is.
Step 14: Labor scheduling
Your install crew is booked.
Step 15: Tentative install date set
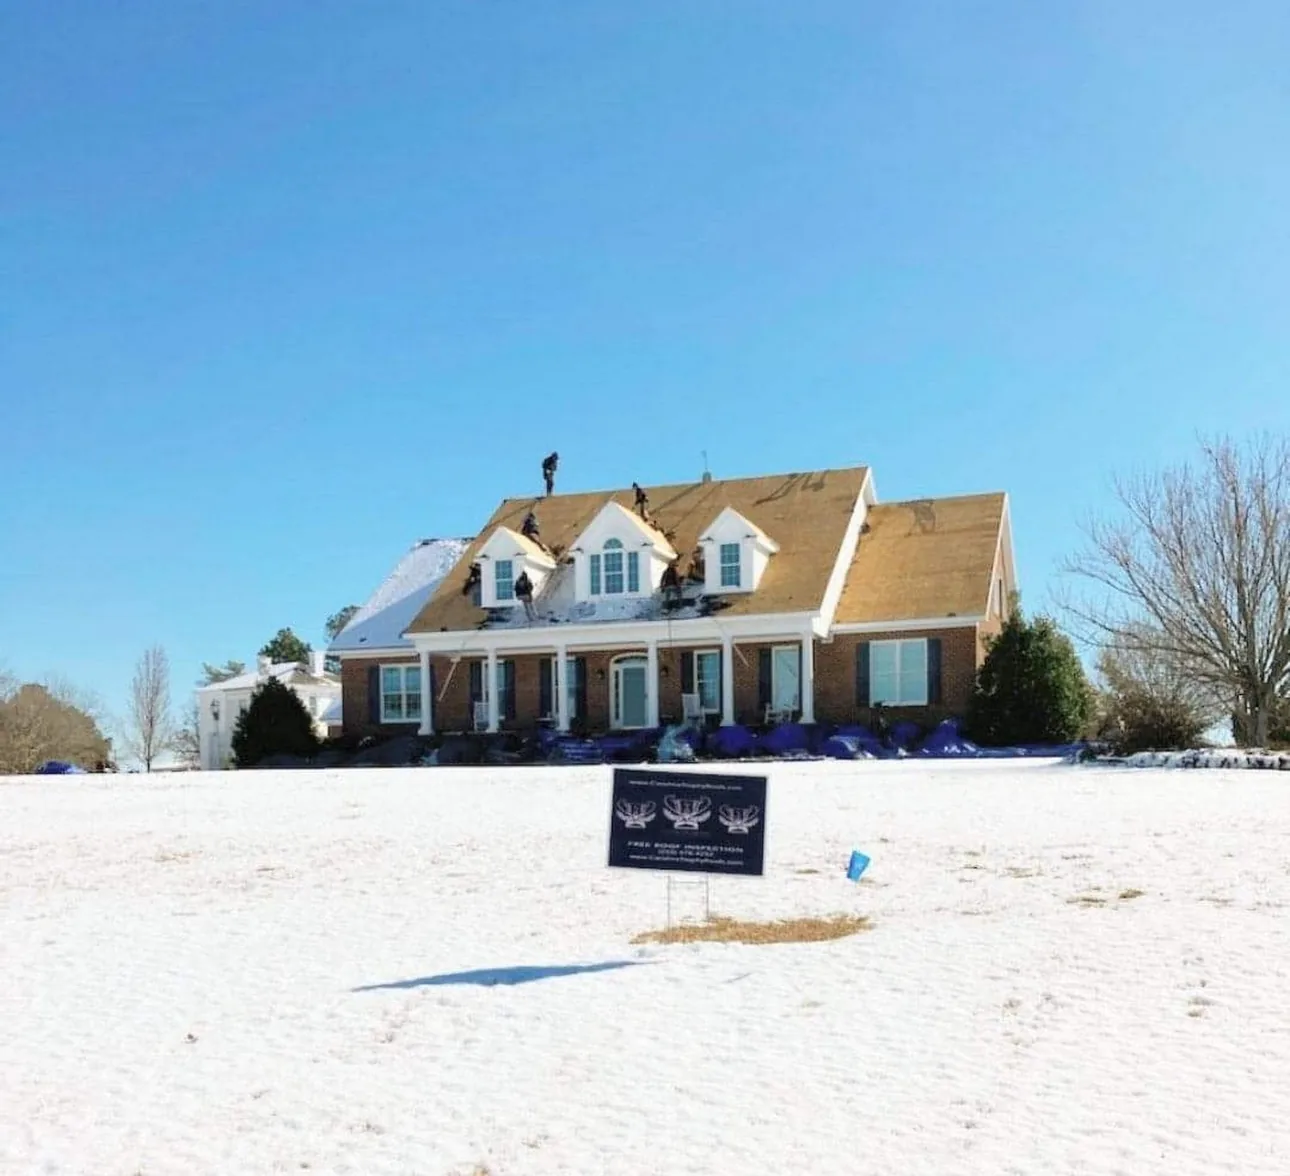
Once labor and materials are booked and your job is planned, we contact you directly with a Tentative Install Date.
Good to know: It is tentative because of weather and other factors. As a rule we will not schedule a job when there is more than a 30% chance of rain, and our Production Manager watches the forecast constantly.
Step 16: Material arrival
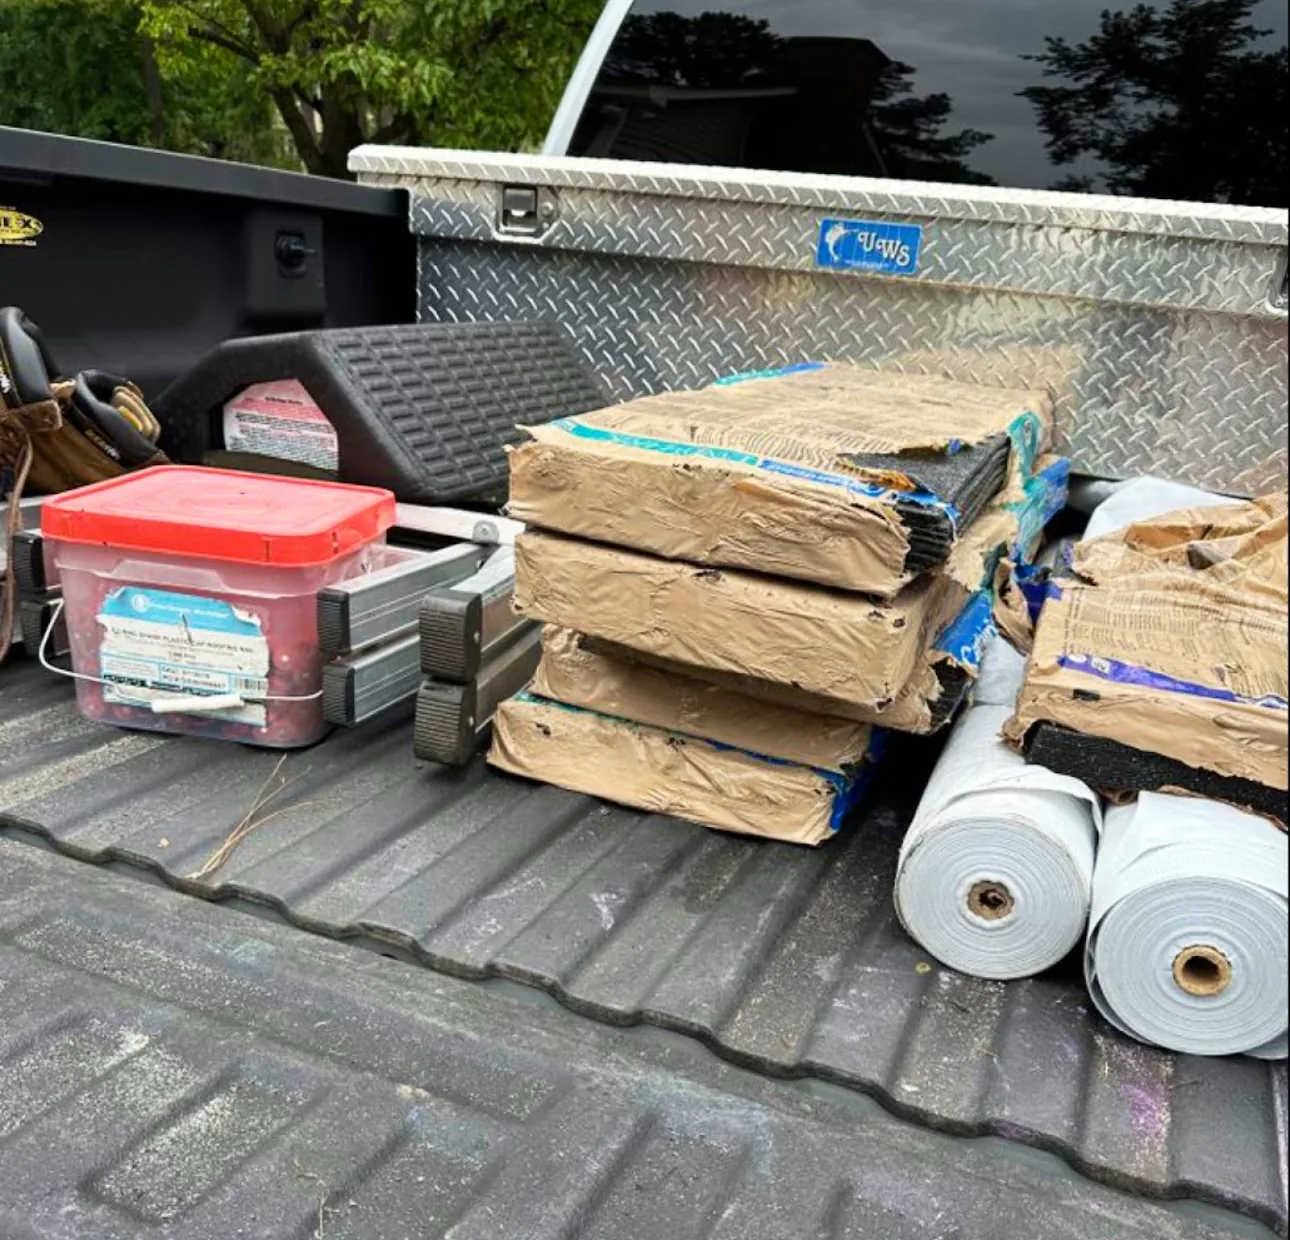
Materials are normally delivered the day before or the day of your install, so they do not sit in your way.
Phase 3
Install
The crew arrives and your new roof goes on.
Step 17: Installation
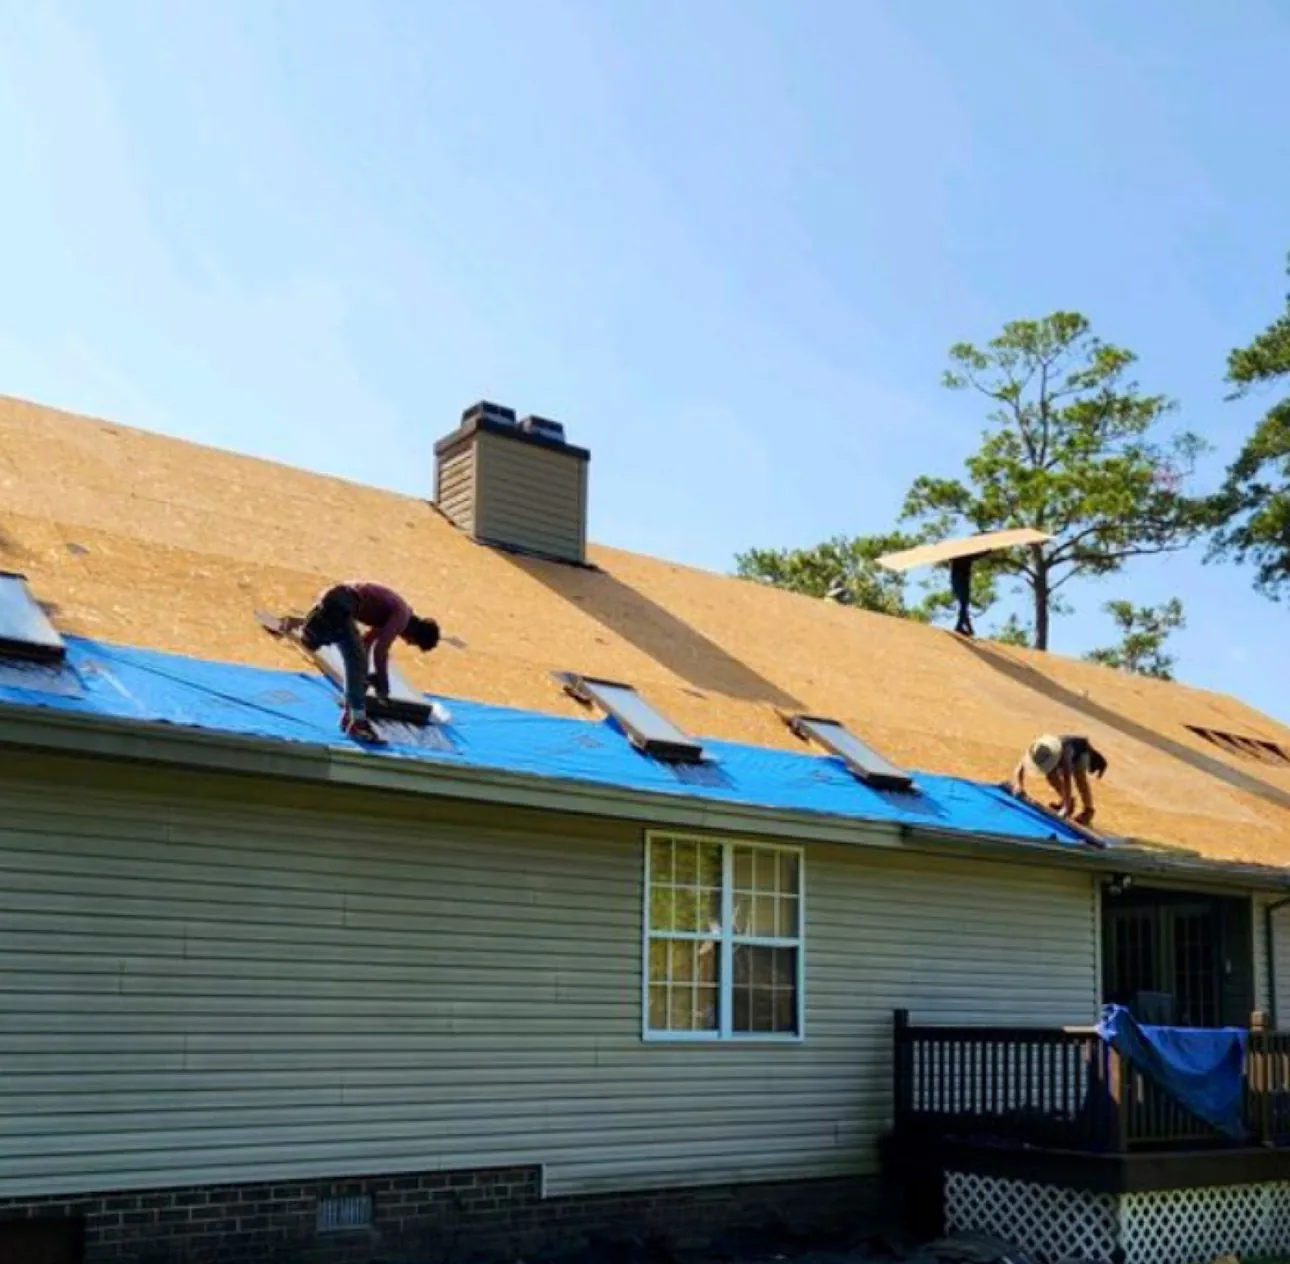
The crew arrives around 7:00 a.m. Once work begins, your home and yard become an active construction zone with a lot of debris around it.
- Cut the grass short.
- Bring fragile property inside from the yard, driveway, porch and anywhere near the home.
- Move all vehicles out of the driveway so the trailer, materials and equipment can be placed.
Your part: If there are special concerns or instructions that were not written on the face of the contract, contact us directly before install day. It never hurts to confirm a detail.
Step 18: Filing supplements
Insurance jobsInsurance companies sometimes leave out items the install requires. Where we find that, we file a Supplement with the carrier that points out the specific defects, then collect that payment on the job.
Good to know: A Supplement is not a new claim. It is the same claim. It is added to the contract price but does not increase your out-of-pocket cost, which is your deductible, any plywood your insurance does not pay for, and any upgrades you request outside the insurance scope. When a Supplement is approved, a member of our team will contact you.
Step 19: Clean-up
We do our best to clean up completely.
Your part: If we overlook a small piece or two, tell us and we will take care of it.
Step 20: Post-production inspection
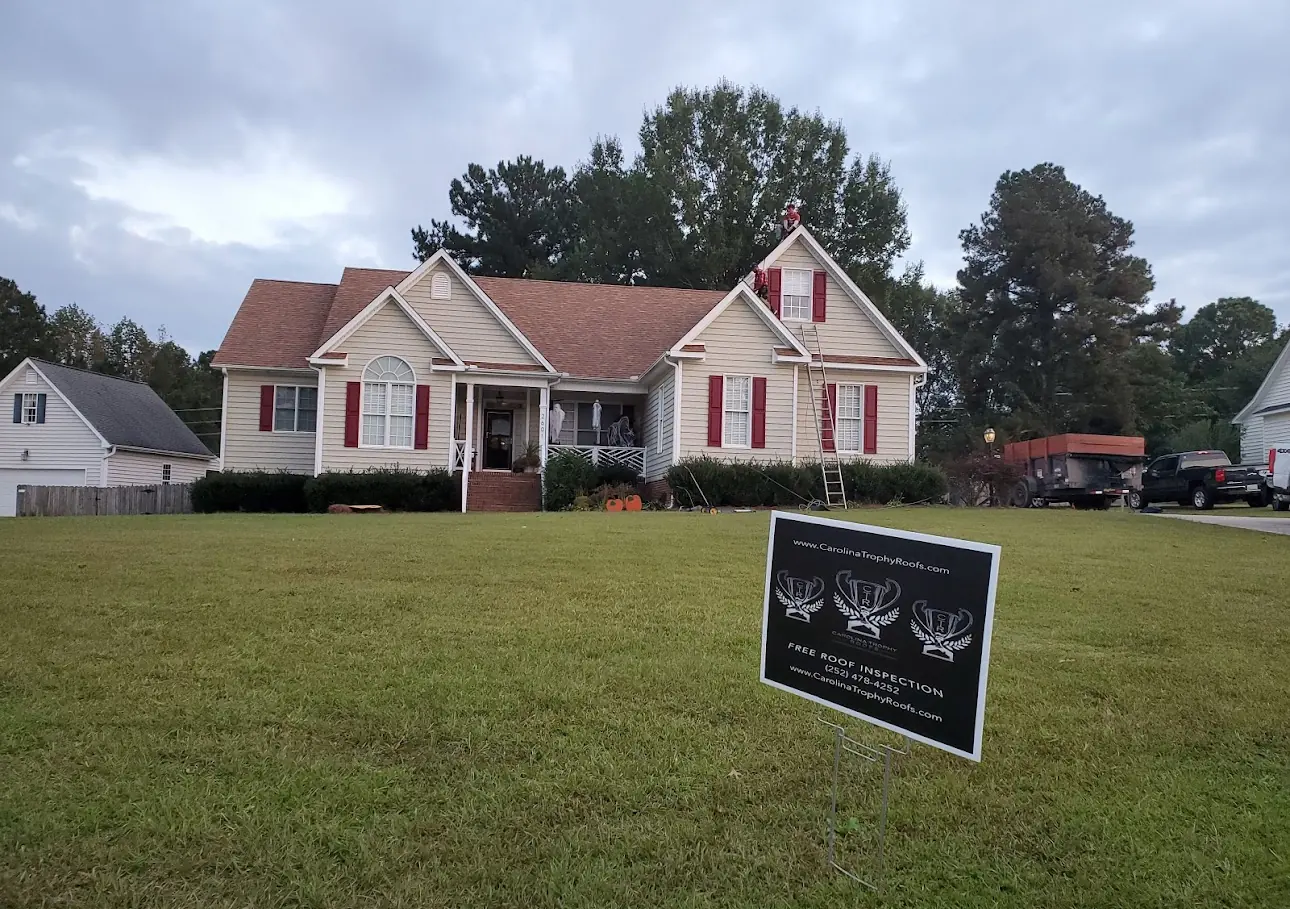
Our Production Coordinator, or someone assisting them, walks the property with you and addresses anything of concern.
Your part: Please make yourself available for this walk-around. It is your chance to point out anything you feel needs attention.
Phase 4
Closing out
Paperwork, final payments and your file closed.
Step 21: Certificate of Completion
We collect your signed Certificate of Completion at the walk-around.
Step 22: Deductible collection
At the walk-around we also collect your deductible and any remaining ACV checks. On a cash job, this is when the second half of the contracted amount is collected.
Good to know: Your deductible cannot and will not be waived. It is illegal, and we do not allow it.
Step 23: Filing for depreciation
Insurance jobsOn insurance jobs we send the Certificate of Completion, photos of the completed work and proof of deductible payment to your insurance company to release the depreciated amount.
Your part: Help us stay on top of the carrier. Our contract is with you, not them, and carriers generally act faster when their own customer is involved.
Step 24: Depreciation and supplement collection
Insurance jobsThe carrier’s payments come in and are collected on your job. Once your file is fully paid out, it is closed.
- 10 to 14 days after filing: most insurance companies process the depreciation request in this window.
- 14 days: if you have not heard from the carrier, contact us.
- 30 days: something is wrong. We will need you to actively help us track the payment with the carrier.
Good to know: If a check comes back with your mortgage company’s name on it, take it to them with a copy of the contract, the insurance scope and possibly photos of the completed job so they can endorse it. Once it is endorsed by every party named on it, tell us so we can pick it up. Please do not deposit it yourself.
Job closed
We stay in regular contact with you until your job is fully paid out and your file is closed. Thank you for choosing Carolina Trophy Roofs.
How to reach us
If we do not answer, we are on a call, in the field or somewhere with no service. Please leave a voicemail or send a text and we will get back to you as soon as we can. If you email and do not hear back within 24 hours, please call or text, since replies sometimes land in spam.
Common questions
We are not attorneys and this is not legal advice. It is provided for information only.
Ready to start at step 1?
Book an inspection and we will take it from there.